

How To Draw A Skull Easy
Like shooting fish in a barrel How to Draw a Skull Tutorial and Skull Coloring Page
posted in: 2nd Grade, third Course, fourth Grade, 5th Grade, Cartoon Cartoon, Crayons, Drawing, Easy How to Draw Tutorials, Halloween, Holiday Drawing Ideas, Misc
Below you'll notice an easy step-by-stride how to draw a Skull Tutorial and Skull Coloring Folio. Scroll downward to learn more and download yours for complimentary.
How to Draw a Skull
When your students are prepare to larn how to depict a skull that is more than only an oval shape with a few circles for nose and eye holes, information technology might be fourth dimension to share this tutorial with them. A few more details can make all the difference in the globe.
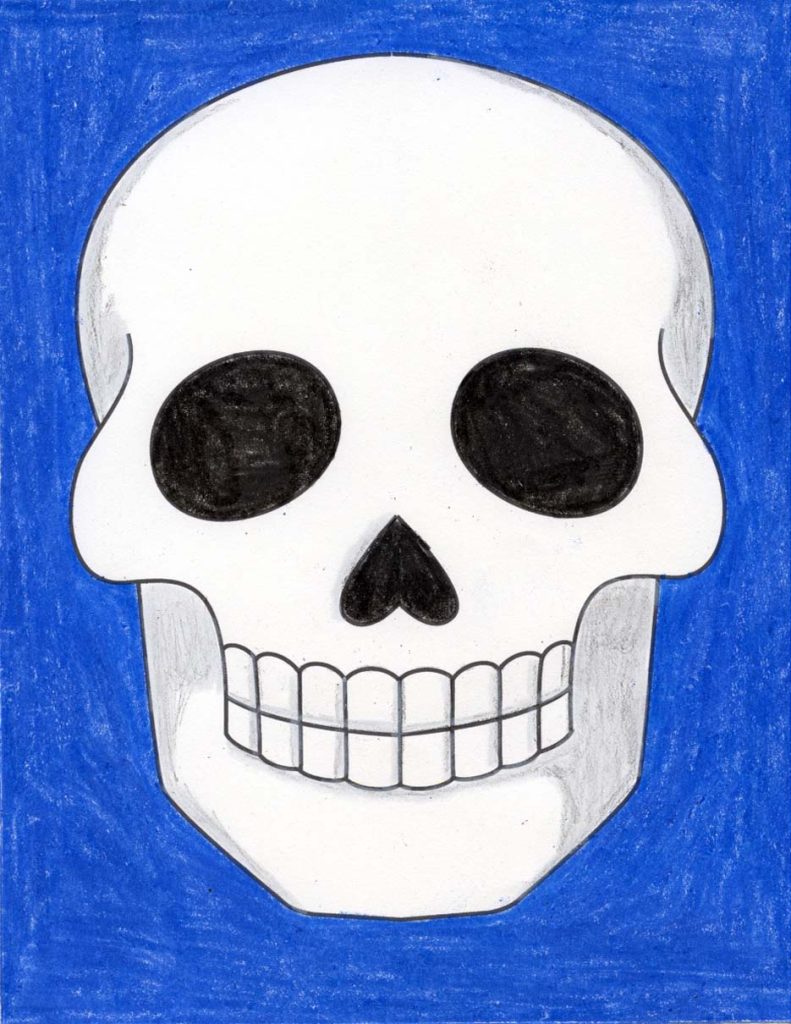
A skull, or cranium, is a set of bones that make up the shapes of our heads. It supports the structures of the confront and forms a protective cavity for the encephalon.
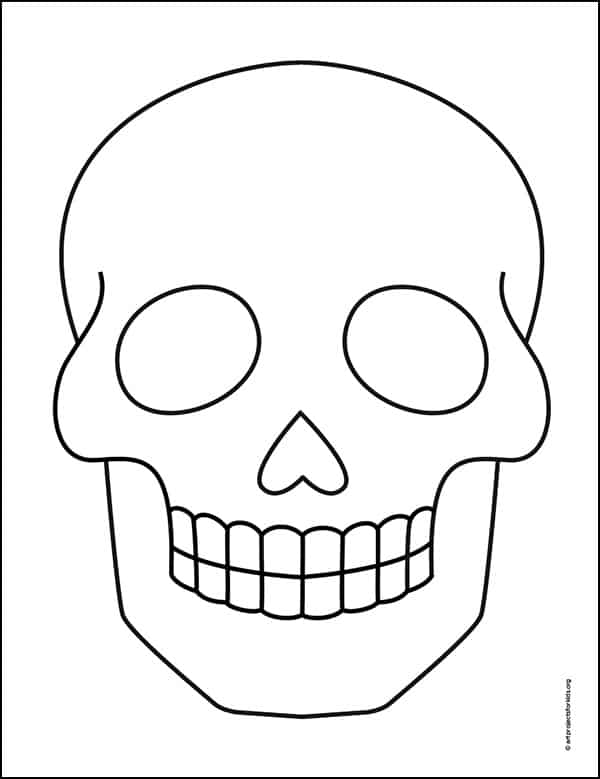
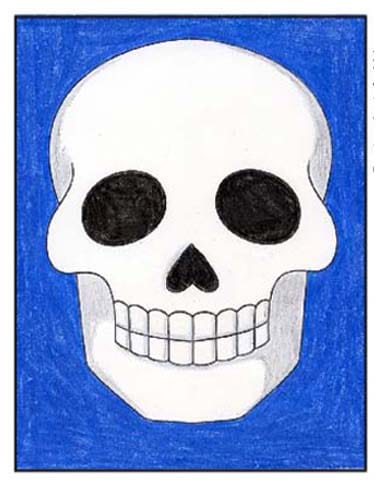
A real skull actually has 22 basic, but this drawing lesson will simplify quite a few of them. The important parts — the nose pigsty, cheeks and teeth are at that place, so the drawing looks pretty realistic, merely doesn't get too hard for the younger artists.
Save this skull drawing project for:
- Halloween (that's a no-brainer)
- Day of the Expressionless (not to exist dislocated with Halloween, more of a celebration of past lives)
- Anatomy (it's simple, but still pretty authentic)
- Symmetry do (y'all can never have also much!)
As well, this basically white cartoon is a dandy place for students to practice shading. Students that seem to easily main the shapes of this skull, might like to see what they can do with making shadows. A few well placed greyness shapes will plow this flat drawing into something that looks similar it has some shape and depth.
Getting Started with Drawing Guides
The all-time way to go students off to a proficient start to any drawing lesson is to show them how to use guides as a reference signal.
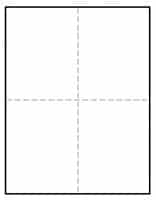
You may have noticed that all of the tutorials on this website have a dashed vertical line and horizontal line running through the center of each step. If students brand theirown centered lines on theirown paper, earlier drawing, they will have an easy reference to follow.
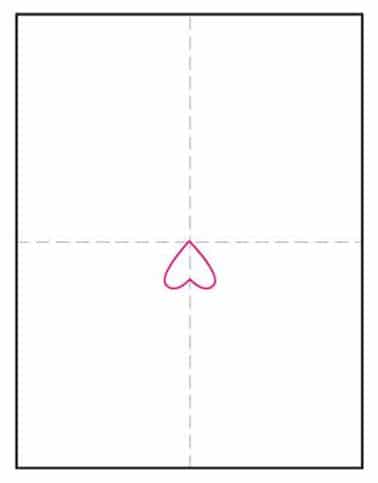
For instance, as seen in Step 1 below, this sketch starts with an upside downwardly heart shape right in the center of the paper. Information technology's easy to do when students tin see where those 2 guides cross.
When students go their drawing off to a good start, at that place's a better chance of them feeling successful by the time they are done. Drawing skills are all about getting the size and placement of lines on newspaper. Having some visual reference point to get started, will e'er help anyone larn how to be a little more accurate.
So does that mean students demand to leave a ruler to draw a big line downward the center of their newspaper before they first? No, that will near likely be hard to erase and distract from whatever finished art. Instead, they simply fold the sheet of paper in one-half both ways, make a crease, and unfold. The beauty is that past the time the drawing is done and colored in, the creases will disappear.
And at present, on to the skull cartoon project.
Pin Me to Your Pinterest Board
New! See my Coloring Folio Gallery
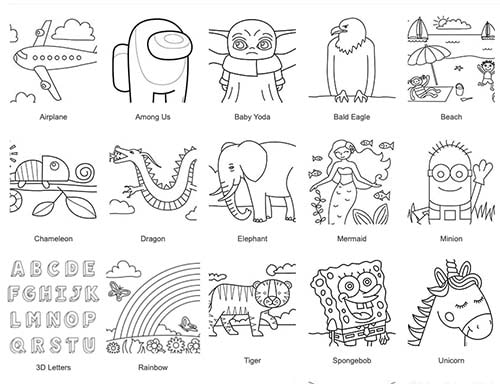
Skull Coloring Page
Materials for Skull Drawing
- Eraser. Large ones yous can concord in your hand do a much better chore than just the pencil tips.

- Black Sharpie Marker. These fine point permanent marking pens make dainty black outlines, have a good tip for coloring, and never drain when they become moisture. Use them with good ventilation and add actress newspaper underneath to protect your tables.
- Prang Crayons. These are a bit softer than other crayons and then they sometimes look like oil pastels. They also accept a some dainty chocolate-brown shades that Crayola does not take unless you buy their larger boxes.
- Crayola Crayons. The reliable make that always works well. The 24 pack has some of my favorite golden orange and yellow colors that seem a bit richer and warmer than the ones Prang has.
Directions for How to Draw a Skull Pace by Step
Time needed:45 minutes.
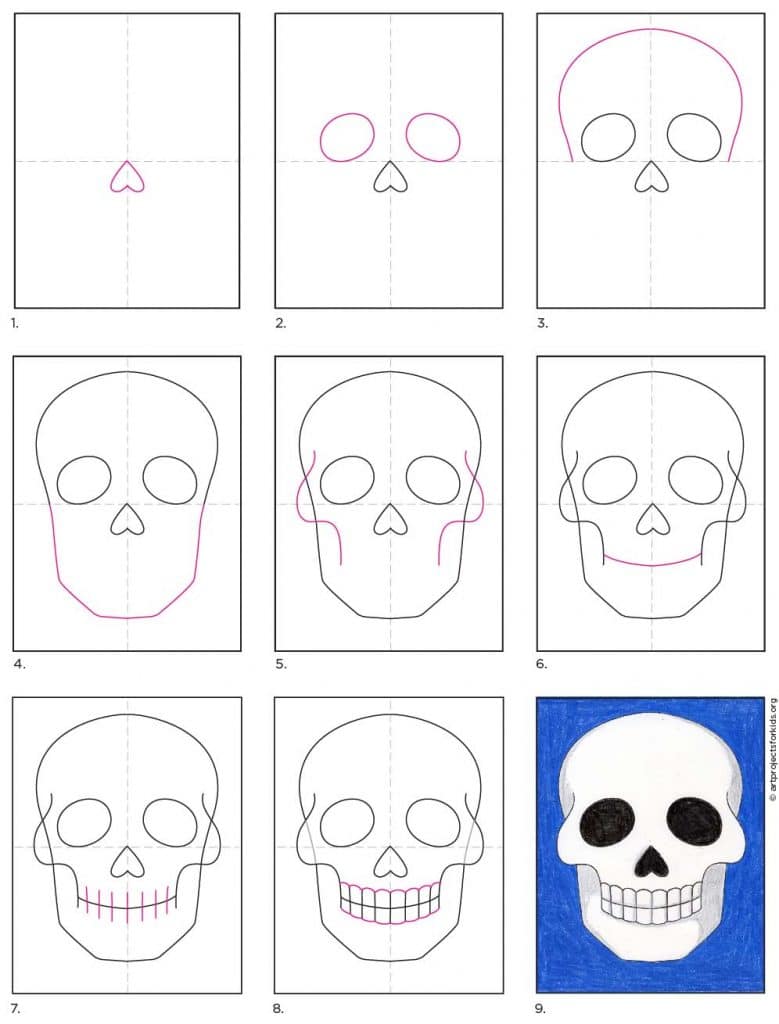
Skull Footstep by Step Instructions
- Draw an upside downward center for a nose.
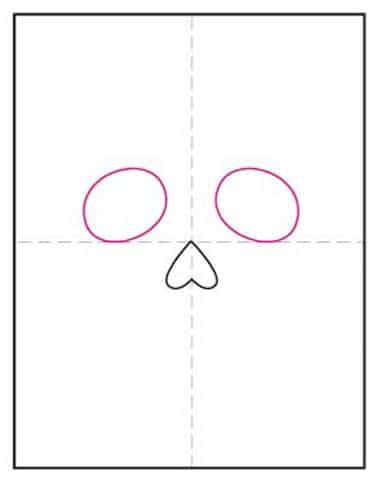
- Add together ii ovals for the heart sockets.
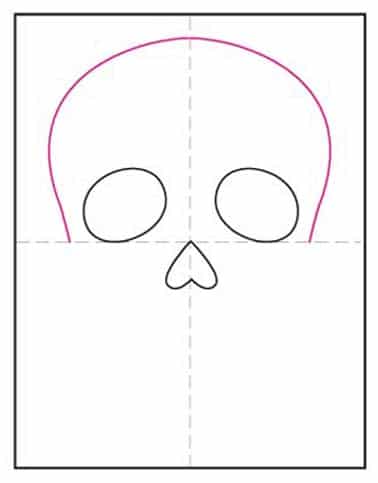
- Commencement the tiptop of the skull that curves in at an angle.
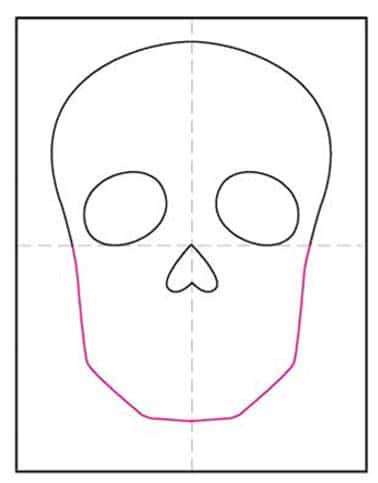
- Finish the bottom of the lower jaw.
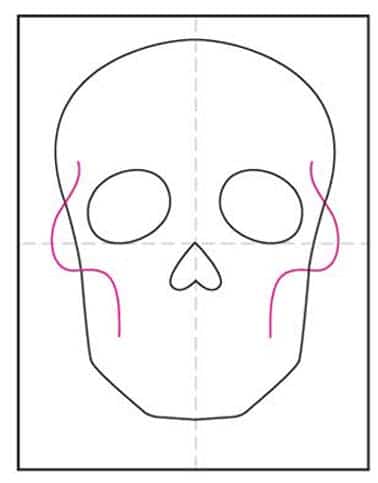
- Add together the curve of the matching cheekbone lines.
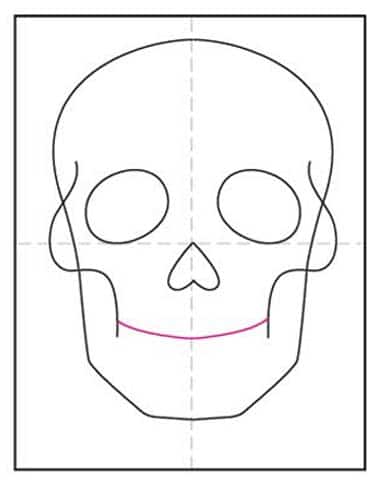
- Draw the middle line of the teeth.
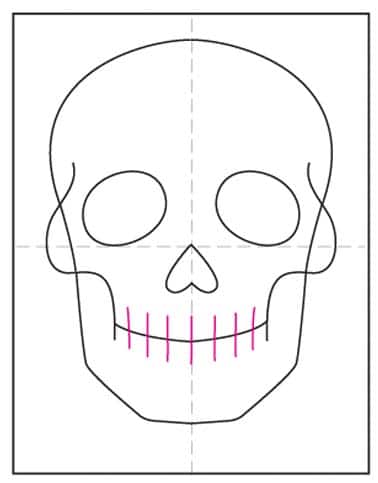
- Add even number of lines for both the upper teeth and the lower teeth.
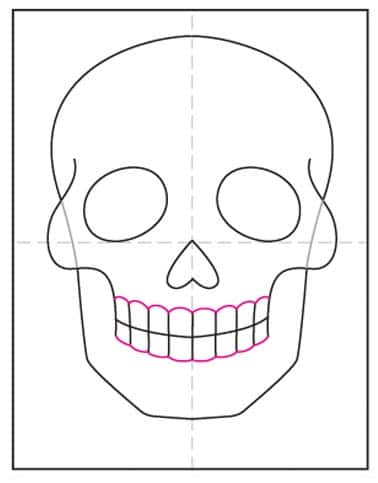
- Connect with curved lines.
- Trace with a marker and colour.
More than Halloween Projects


Source: https://artprojectsforkids.org/how-to-draw-a-skull/
Posted by: pritchettdout1969.blogspot.com
0 Response to "How To Draw A Skull Easy"
Post a Comment